How To Do Your Own Creation With AI Supporting: A Complete Step-by-Step Guide

Want to turn your creative ideas into reality without spending hours on technical busywork? In this guide, you'll discover how to leverage AI tools to bring any project from concept to finished product, whether you make art, write content, build games, or design products. You’ll walk away with a repeatable workflow you can use for any creative project.
Why should you care about AI-supported creation? This approach cuts down tedious work, lets you test more ideas faster, and opens up creative possibilities you may have thought were out of your skill range. But it's important to understand the core steps and boundaries to get consistent, high-quality results.
Why AI-Supported Creation Is Worth Your Time
- Low entry barrier for new creators: You don’t need years of specialized training to start making polished work. AI tools handle complex technical tasks, so you can focus on your core idea instead of learning intricate software.
- Faster iteration and idea testing: You can draft, adjust, and refine multiple versions of your project in a fraction of the time traditional methods take. This lets you explore more creative directions before settling on a final version.
- Expand your creative skill set easily: AI tools can help you fill gaps in your skills, like adding visual designs to a writing project or writing dialogue for a game you’re building. This makes it easier to create multi-format projects on your own.
- Build a portfolio and reach global audiences quickly: You can produce consistent, high-quality work to share on creative platforms, connect with other creators, and grow an audience for your projects. Many creators also use these AI-assisted projects to attract freelance or collaboration opportunities.
- Develop transferable tech and creative skills: Learning to work with AI creation tools builds prompt engineering, project planning, and critical evaluation skills that translate to many other digital and professional fields. These skills stay useful even as AI tools evolve over time.
Step-by-Step Guide to AI-Supported Creation
Step 1: Define your core creative concept and project goals
Start by writing a clear, specific outline of what you want to create, including its core purpose, target audience, and key features. For example, if you’re making a short story, note the genre, main character, and core plot point you want to focus on. Vague ideas often lead to inconsistent AI outputs, so the more specific you are at this stage, the better your results will be.
Pro tip: Limit your initial project scope to one small, achievable goal to avoid overwhelming yourself early on.
Step 2: Select AI tools that match your project type
Research and test 2-3 reputable AI tools built for your specific project type, whether it’s image generation, writing, audio editing, or 3D modeling. Look for tools with transparent usage policies, good user reviews, and features that align with your project goals. Many tools offer free trial tiers so you can test them before committing.
Common mistake to avoid: Don’t overcomplicate your setup by using too many tools at once; stick to 1-2 core tools for your first project.
Step 3: Craft clear, detailed prompts for your AI tools
Write specific, descriptive prompts that include your project’s style, tone, key details, and any constraints you want to follow. For example, instead of “make a cat drawing”, try “watercolor drawing of a orange tabby cat sitting on a windowsill with potted succulents, soft warm lighting, cozy cottagecore style”. You can adjust and refine your prompts multiple times to get closer to your ideal output.
Pro tip: Add references to specific artists, styles, or existing works that match your vision to get more consistent results.
Step 4: Edit and refine AI outputs to match your vision
AI outputs almost always need manual adjustments to match your exact creative vision. Go through each generated piece, fix inconsistencies, remove unwanted elements, and add personal touches that make the work feel unique to you. This step is critical to avoid generic, unoriginal results that feel disconnected from your idea.
Common mistake to avoid: Don’t use AI outputs directly without editing; this can lead to copyright issues or work that lacks personal creative flair.
Step 5: Test and iterate on your full project
Put all the pieces of your project together, then share a draft with a small group of trusted peers or your target audience to get feedback. Use their input to identify gaps, fix awkward parts, and adjust elements that don’t land as you intended. You can go back to AI tools to generate new versions of specific sections that need improvement.
Step 6: Finalize and share your creation with the community
Once you’re happy with the final version, export it in the appropriate format for your platform of choice, and add clear credits if you used publicly available AI models or reference materials. Share it on creative communities, social media, or your personal portfolio to get feedback and connect with other creators. You can also note that you used AI support in your creation process to be transparent with your audience.
Challenges to Be Aware Of
- Learning curve for effective prompt crafting: Writing good prompts that produce the results you want takes practice, and you may get inconsistent outputs when you first start. Spend time experimenting with prompt structures and reviewing prompt guides for your chosen tools to speed up this process, and don’t get discouraged by early subpar results.
- AI output consistency and originality risks: AI tools can produce generic, repetitive outputs, or generate content that closely resembles existing copyrighted work. Always edit outputs heavily to add your unique creative voice, and use originality check tools if you plan to share your work publicly to avoid accidental copyright issues.
- Time investment for editing and refinement: Many new creators assume AI will do all the work, but editing and refining outputs to meet your standards often takes as much time as the generation step. Plan for at least equal time for editing as you spend generating AI content to ensure your final project feels polished and personal.
- Keeping up with fast-changing AI tool updates: AI creation tools update frequently, with new features and policy changes that can impact your workflow. Follow official tool blogs and creator communities to stay informed about updates, and be ready to adjust your process as tools evolve over time.
Conclusion
You now have the foundation to start doing your own creation with AI supporting tools for any creative project you want to pursue. The steps in this guide work for every type of creative work, from writing and art to game development and product design, and you can adapt them to fit your specific style and goals.
AI-supported creation offers a chance to bring more of your ideas to life with less technical friction, and by mastering this workflow, you're positioning yourself to make more creative work in less time. You also build flexible skills that will stay valuable as creative technology continues to evolve.
Don't wait for the perfect moment. Start drafting your first small project concept today. You'll be surprised by what you can create when you combine your unique creative vision with the power of AI support.
FAQ
How long does it take to learn to make high-quality AI-supported creations?
Most new creators can produce solid, usable work within 2-4 weeks of regular practice, as long as you focus on one project type and one set of tools at first. Mastery of more complex workflows and advanced prompt techniques may take 2-3 months of consistent use. Start with small, low-stakes projects to build your skills faster.
Do I need expensive software or prior creative experience to start?
You don’t need any prior professional creative experience, and many high-quality AI creation tools offer free or low-cost tiers that work for most beginner projects. All you need is a laptop or desktop with a stable internet connection and a clear idea of what you want to make. You can upgrade to paid tools later as your projects get more complex.
What's the best way to get more consistent, original results from AI tools?
Start with extremely specific prompts that include style references, concrete details, and clear constraints for the output. Always edit every AI generated section heavily to add your personal creative touches, and mix AI work with manual creation wherever possible. Experiment with combining outputs from multiple tools to create more unique final products.
Can I share or use AI-supported creations for portfolio or commercial projects?
You can share most AI-supported creations publicly as long as you edit them heavily to add original creative work, and follow the usage policies of the specific AI tools you used. Many platforms and clients accept AI-assisted work as long as you are transparent about the AI usage. Always check the terms of service for your tools and the platforms you plan to share on before publishing your work.

RECOMMEND ARTICLES
How To Get Free Houses, Maps, Clothes, Furniture, And Pets In Toca
What Country Do You Look Like?

How To Fall Asleep Quickly?

How To Remove Viruses From Your Android Phone: A Practical Guide For APK Users
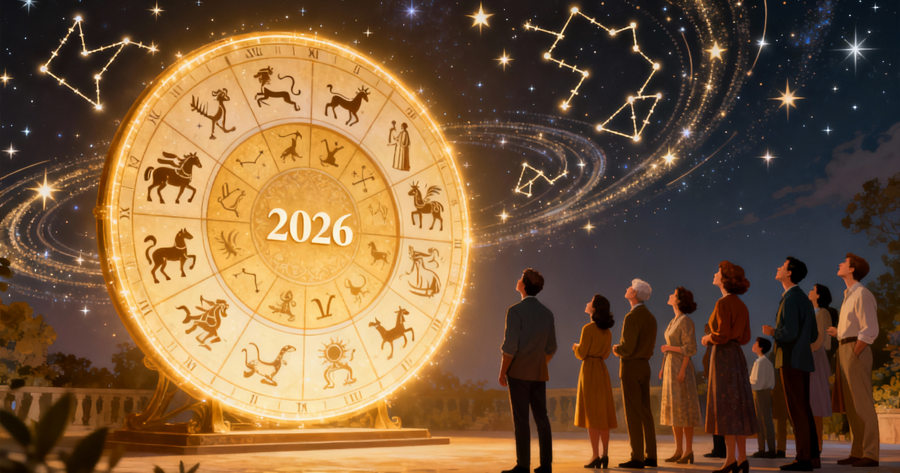
What 2026 Has In Store For You Based On Your Zodiac Sign?
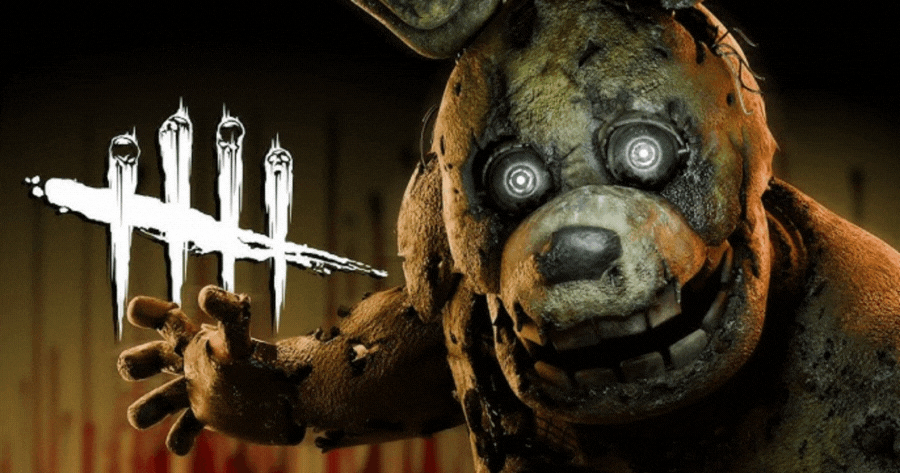
Night Shift Terror: A Complete Guide To FNAF In Dead By Daylight

How Americans Celebrate The Fourth Of July Across The Nation?

Unlocking The Secrets: What Makes Short Dramas So Addictive?
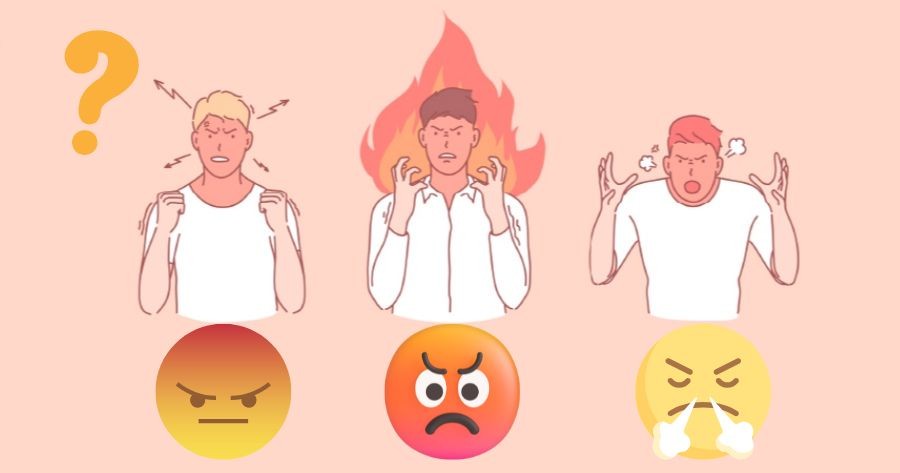
Common Types Of Anger: Do You Know Your Anger Style?

The Strongest 10 'Demon Slayer' Characters Ranked
Most Read
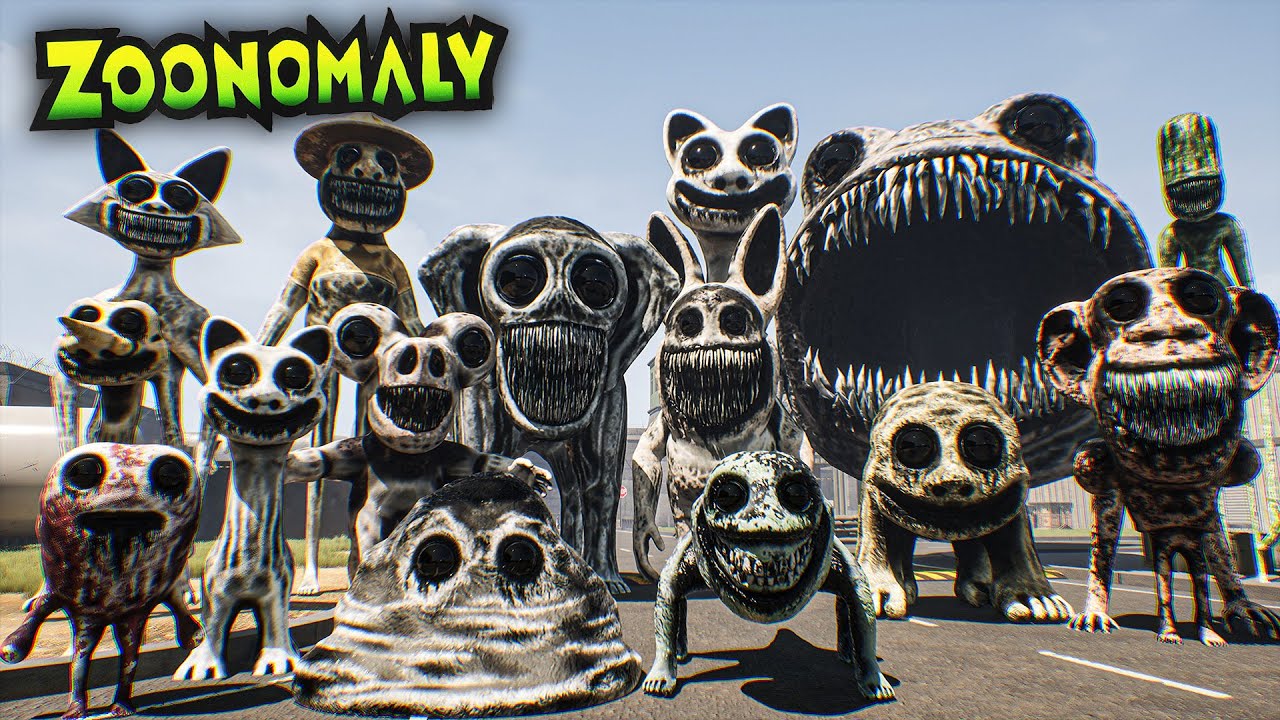
How To Collect All Key Shards & Unlock Free Exclusive Weapon & Monster Skins In Zoonomaly
How To Get Free, Must-Have Mods For Geometry Dash

Comprehensive Handbook On Residential Support For Seniors And Individuals With Disabilities
How To Claim And Use 99 Nights In The Forest Free Items

How To Access Poppy Playtime Chapter 5 & Install Mods: A Complete Guide