How To Perfect Your Squat Form To Prevent Knee And Back Pain

Ready to squat without worrying about sore knees or achy lower back after your workout? In this guide, you'll discover step-by-step methods to perfect your squat form, avoid common injury triggers, and get the most out of every rep. You will build a sustainable squat practice that supports your long-term fitness goals, no matter your experience level.
Why should you care about refining your squat form in the first place? Poor squat technique is one of the leading causes of avoidable knee and back strain for casual and regular gym goers alike. But it's important to understand that small, intentional adjustments to your stance and movement can eliminate almost all of these unnecessary discomforts, and make squats work for your body instead of against it.
Why Perfecting Your Squat Form to Prevent Knee and Back Pain Is Worth Your Time
- Low barrier to entry: You don't need any fancy gym equipment to practice good squat form, so you can work on your technique at home, at the park, or in a gym whenever you have a few spare minutes. This accessibility makes it easy to build consistent, sustainable habits that stick over time.
- Supports full body functional strength: A properly executed squat engages your glutes, quads, core, and lower back evenly, building strength that translates to everyday movements like lifting groceries or climbing stairs. This functional strength reduces your risk of injury during regular daily activities, not just workouts.
- Reduces long-term joint strain: When you squat with correct form, you distribute weight evenly across your lower body instead of putting unnecessary pressure on your knee joints or lower back. This reduces wear and tear over time, so you can keep squatting safely as you age.
- Improves overall workout efficiency: Good form ensures you are targeting the right muscle groups with every rep, so you get better strength and conditioning results from the same number of squats. You won't waste energy on movements that don't contribute to your fitness goals.
Step-by-Step Guide to Perfecting Your Squat Form to Prevent Knee and Back Pain
Step 1: Set your initial stance correctly
Stand with your feet shoulder-width apart, toes turned slightly outward at a 15 to 30 degree angle that feels natural for your hip mobility. Your weight should be evenly distributed across the balls and heels of your feet, not tilted forward or backward. This neutral stance creates a stable base that supports your entire body through the movement.
Common mistake to avoid: Don't turn your toes straight forward, as this can put extra strain on your knee joints as you lower into the squat.
Step 2: Engage your core and brace your upper body
Take a small breath in, pull your belly button toward your spine to engage your core muscles, and roll your shoulders back slightly to keep your chest up. Your spine should stay in a neutral, straight position, not rounded forward or overly arched. This bracing keeps your torso stable and prevents your lower back from taking on too much weight as you squat.
Pro tip: You can hold your arms out straight in front of you at shoulder height to help keep your balance as you learn the movement.
Step 3: Initiate the movement by pushing your hips back
Start the squat by pushing your hips backward as if you are about to sit down in a chair that is placed just behind you. Avoid bending your knees first, as this common mistake shifts too much weight forward onto your knees. Think of the movement as a sitting motion first, rather than a bending motion, to engage your glutes properly from the start.
Common mistake to avoid: Don't let your knees cave inward as you start to lower, as this puts uneven pressure on the inside of your knee joints.
Step 4: Lower to a comfortable depth while tracking your knees
Continue lowering your body until your thighs are at least parallel to the floor, or as far as you can go without rounding your lower back or feeling pain. As you lower, make sure your knees track over the middle of your toes, not caving inward or flaring far outward. You should feel a gentle stretch in your hips and quads, not sharp pain in your knees or back.
Pro tip: If you struggle to reach parallel depth without rounding your back, place a small stable box behind you to practice sitting back into until your mobility improves.
Step 5: Drive through your heels to stand back up
To return to standing, push firmly through your heels, squeeze your glutes at the bottom of the movement, and keep your core engaged as you rise back to your starting position. Avoid leaning forward as you stand, as this shifts weight onto your toes and strains your lower back. Exhale slowly as you push up to maintain core stability throughout the entire movement.
Common mistake to avoid: Don't lock your knees at the top of the squat, as this puts unnecessary pressure on the joint and can lead to soreness over time.
Step 6: Practice slow, controlled reps to build muscle memory
Start with 10 to 15 slow, intentional reps per set, focusing on perfecting each part of the movement before increasing your speed or adding weight. You can practice in front of a mirror to check your form, or record a short video of yourself to spot small adjustments you need to make. Consistent, slow practice builds muscle memory so good form becomes automatic over time.
Pro tip: If you are new to squatting, practice 2 to 3 sets of bodyweight squats 3 times a week to build your foundation before adding dumbbells or a barbell.
Challenges to Be Aware Of
- Initial mobility limitations: Many people have tight hips, ankles, or hamstrings from long periods of sitting, which can make it hard to reach full squat depth with good form at first. You may feel wobbly or restricted in your movement when you start, which can be frustrating. You can address this by adding 5 to 10 minutes of hip and ankle mobility stretches to your pre-workout routine to gradually improve your range of motion over time.
- Breaking old bad habits: If you have been squatting with poor form for months or years, it can take time to unlearn those movement patterns and build new muscle memory. You may find yourself slipping back into old habits when you get tired or distracted during workouts. Be patient with yourself, and consider working with a trainer for 1 or 2 sessions if you struggle to correct form issues on your own.
- Conflicting advice from different sources: You may find a lot of conflicting information online about the "perfect" squat stance or depth, which can feel overwhelming and confusing. Not all advice will apply to your unique body shape, hip structure, and mobility level. Focus on what feels comfortable and sustainable for your body, rather than trying to copy a professional athlete's form exactly.
Conclusion
You now have the foundation to start perfecting your squat form and preventing unnecessary knee and back pain during your workouts. The step-by-step process we covered works for all fitness levels, so you can adjust it to match your current ability and improve over time.
Perfecting your squat form offers a low-effort way to reduce injury risk, build functional full-body strength, and get more out of every workout you do. By taking the time to master this basic movement now, you're positioning yourself for long-term fitness success and fewer avoidable injuries down the line.
Don't wait for the perfect moment. Start practicing a few slow, intentional bodyweight squats today. Small, consistent adjustments to your form will add up to big improvements in how you feel during and after your workouts.
FAQ
How long does it take to perfect my squat form and get rid of knee pain?
Most people notice a reduction in knee or back soreness after 2 to 3 weeks of consistent, intentional form practice, as long as they are focusing on the key adjustments covered in this guide. It can take 2 to 3 months of regular practice for good squat form to feel completely automatic, so be patient with yourself as you build new muscle memory. Start with short daily practice sessions to speed up your progress.
Do I need a gym membership or special equipment to improve my squat form?
You don't need any special equipment or a gym membership to practice good squat form, since bodyweight squats are the best way to build your initial foundation. If you want to add resistance later, you can use household items like water jugs or a backpack filled with books instead of expensive weights. Start with bodyweight practice first to make sure your form is solid before adding any extra load.
What's the best way to fix knees that cave inward when I squat?
First, make sure your feet are set in a stance that feels natural for your hip mobility, with toes slightly turned outward. As you lower into the squat, focus on pushing your knees slightly outward to track over the middle of your toes, and squeeze your glutes at the bottom of the movement to reinforce the correct pattern. You can also practice glute activation exercises like clamshells before your squats to build the muscle strength needed to keep your knees in the right position.
Can I still do squats if I have existing mild knee or back pain?
In most cases, you can adjust your squat practice to work around mild pain, as long as you stick to a depth that feels comfortable and avoid any movement that causes sharp discomfort. Start with shallow squats, and focus on engaging your core and glutes to take pressure off your knees and lower back. If pain persists after adjusting your form, consult a physical therapist to get personalized advice for your specific situation before continuing with regular squat practice.


RECOMMEND ARTICLES

How To Learn Basic Calligraphy With Just A Pencil And Paper

How To Create A Professional Email Signature In 5 Minutes

How To Improve Your Posture While Working At A Desk
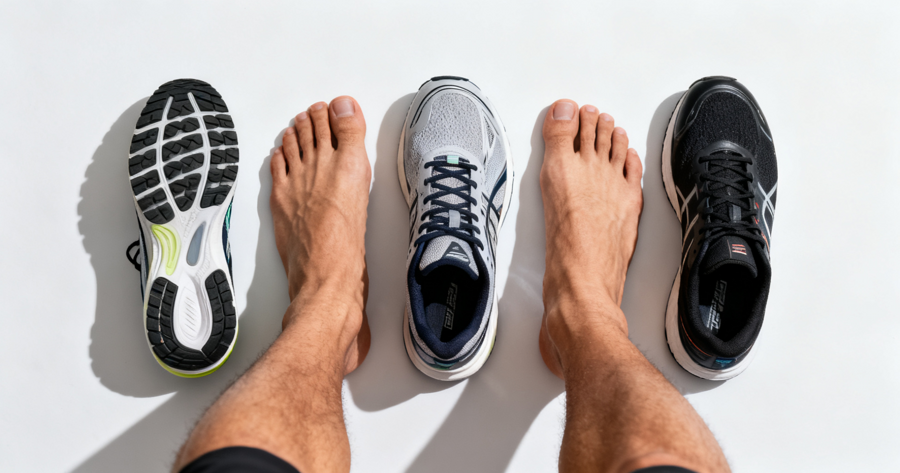
How To Choose The Right Running Shoes For Your Foot Type

How To Repair A Small Hole In Drywall: A Step-by-Step Beginner’s Guide
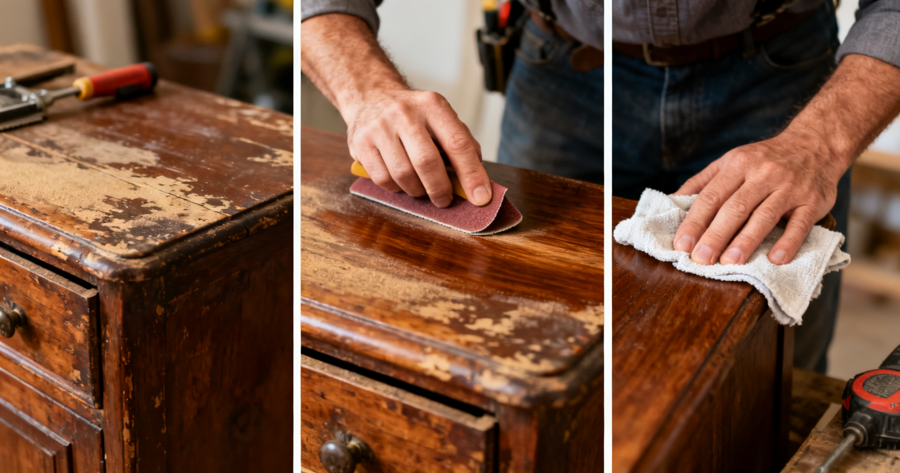
How To Restore Old Wooden Furniture With Basic Sanding And Polishing

How To Build A Sustainable Reading Habit (And Finish One Book A Week)

How To Set Up A Minimalist Digital Workspace To Boost Focus

How To Build A Second Brain Using Notion For Personal Knowledge Management

How To Use AI Prompt Engineering To Automate Your Daily Workflow
Most Read

How To Properly Raise A Dog: A Complete Step-by-Step Guide For Beginners

How To Choose Your First Gaming PC At A Great Price: A Complete Guide For Players

How To Find Your Allergens

Take The FaceZone Filter Test To See How Others See You

Cracking The Code: What IQ Tests Really Measure