How To Paint Kitchen Cabinets For A Professional, Long-Lasting Finish

Ready to refresh your kitchen without a full remodel? In this guide, you’ll discover how to paint kitchen cabinets for a smooth, professional finish that elevates your entire space. You’ll avoid common mistakes and get results that hold up to daily use for years.
How will this DIY project change your space? A fresh cabinet paint job can update your kitchen’s aesthetic for a fraction of the cost of full replacements. But it's important to follow the right process to avoid chipping, streaks, or uneven coverage that forces you to redo the work.
Why Painting Kitchen Cabinets for a Professional Finish Is Worth Your Time
- Budget-friendly kitchen upgrade: Replacing kitchen cabinets can cost thousands of dollars, but a high-quality paint job costs a small fraction of that price. You can allocate the savings to other kitchen updates, like new hardware or a backsplash.
- Full creative control over your aesthetic: You can pick from thousands of paint shades and finishes to match your exact design preferences, from bright bold tones to soft neutral hues. This lets you customize your space to fit your home’s overall style perfectly.
- Boosts your home’s resale potential: Updated, well-finished kitchen cabinets are a top selling point for many potential home buyers. A professional-looking paint job can increase your home’s perceived value and make it stand out in competitive markets.
- Builds transferable DIY skills: The techniques you learn for prepping, painting, and finishing cabinet surfaces work for other furniture and home renovation projects. You can use these skills to refresh dressers, bookshelves, and trim around your home later.
Step-by-Step Guide to Painting Kitchen Cabinets for a Professional Finish
Step 1: Prep your workspace and remove cabinet hardware
Start by emptying all cabinets, then lay down drop cloths on countertops, floors, and nearby appliances to catch dust and paint spills. Remove all doors, drawers, hinges, knobs, and pulls, and label each piece with masking tape so you can reattach them correctly later. This step prevents accidental damage to your space and simplifies reassembly when you finish.
Common mistake to avoid: Skipping the labeling process leads to hours of frustration trying to match doors and drawers to their original spots.
Step 2: Clean and degloss cabinet surfaces thoroughly
Wipe all cabinet boxes, doors, and drawers with a grease-cutting cleaner to remove built-up cooking residue, food splatters, and dust. Next, lightly sand all surfaces with 120-grit sandpaper to scuff up the existing finish, which helps the new paint adhere properly. Wipe away all sanding dust with a damp microfiber cloth and let surfaces dry completely before moving on.
Pro tip: Use a deglossing liquid for especially glossy cabinet finishes to skip heavy sanding and save time.
Step 3: Apply a high-quality bonding primer
Choose a stain-blocking, bonding primer designed for wood or laminate cabinet surfaces, and apply a thin, even coat to all areas you plan to paint. Let the primer dry fully according to the product instructions, then lightly sand any rough spots with 220-grit sandpaper and wipe away dust again. Primer prevents wood stains from bleeding through your paint and creates a smooth base for your topcoat.
Common mistake to avoid: Using a general-purpose wall primer on cabinets leads to peeling and chipping within a few months of regular use.
Step 4: Apply the first coat of cabinet paint
Select a durable, scrubbable paint formulated for cabinetry, such as a semi-gloss or satin alkyd or acrylic enamel. Use a high-quality angled brush for edges and a foam roller for flat surfaces to create a smooth, streak-free finish. Apply thin, even coats rather than one thick coat to avoid drips and uneven drying.
Pro tip: Work in small sections at a time to maintain control over your application and catch drips before they dry.
Step 5: Sand between coats and apply additional topcoats
Let the first coat of paint dry fully, then lightly sand the entire surface with 320-grit sandpaper to remove any small bumps or brush marks. Wipe away all dust with a microfiber cloth, then apply a second thin coat of paint. For the most durable, even finish, repeat this process to add a third coat if your color change is drastic or your existing finish is very dark.
Step 6: Reassemble cabinets and add finishing touches
Once the final coat of paint is fully cured (usually 24 to 72 hours, depending on your paint type), reattach the hinges, knobs, and pulls using your labels as a guide. Hang the doors back on the cabinet boxes and slide drawers back into their original spots. You can also add new hardware for an extra upgraded look if you prefer.
Pro tip: Wait a full week before placing heavy items or regularly wiping down your new cabinets to let the paint fully harden.
Challenges to Be Aware Of
- Significant time investment: A full cabinet paint project typically takes 3 to 5 days from start to finish, including drying time between coats. You will need temporary access to kitchen storage for your items during this period, so plan your project for a week when you don’t have major events or guests at home.
- Risk of uneven or peeling finishes if prep is skipped: Skipping cleaning, sanding, or priming steps almost always leads to paint that chips, streaks, or peels within a few months of use. If you rush the prep process, you may end up needing to redo the entire project far sooner than expected.
- Limitations for certain cabinet materials: Very old, warped wood or low-quality laminate cabinets may not hold paint well, even with proper prep and primer. Test a small, hidden section of your cabinets first to confirm the paint adheres properly before committing to the full project.
Conclusion
You now have the foundation to start painting your kitchen cabinets for a professional, long-lasting finish that fits your budget and style preferences. If you follow each step carefully, you can avoid common mistakes and get results that look like they were done by a professional contractor.
Painting kitchen cabinets offers the chance to completely transform your kitchen’s look for a fraction of the cost of a full remodel, and by mastering this process, you're positioning yourself to tackle more home DIY projects in the future. You also get full control over the final aesthetic to match your unique taste.
Don't wait for the perfect moment. Start prepping your cabinet surfaces this weekend. Even small, consistent progress each day will lead to a stunning kitchen upgrade you can enjoy for years to come.
FAQ
How long does the entire cabinet painting process take from start to finish?
Most standard kitchen cabinet projects take 3 to 5 total days, including drying time between coats. You will spend roughly 1 to 2 days on prep, 2 to 3 days on priming and painting, and 1 to 2 days waiting for full curing before reassembly. Plan to set aside time on a long weekend for the most stress-free experience.
Do I need special tools or experience to paint kitchen cabinets professionally?
You don’t need prior professional experience, but you will need a few specific tools: high-quality brushes, foam rollers, sandpaper, a grease-cutting cleaner, and cabinet-specific primer and paint. Basic DIY skills are enough to get great results if you follow the step-by-step process closely. Test your technique on a hidden cabinet section first if you are nervous about your first attempt.
What's the best way to avoid brush marks and streaks on my finished cabinets?
Use a combination of an angled brush for edges and a high-density foam roller for flat surfaces, and always apply thin, even coats instead of thick layers. Lightly sand between each coat with fine-grit sandpaper to smooth out any small imperfections before applying the next layer. Work in a well-ventilated space with moderate humidity to help the paint dry evenly without streaking.
Can I use a regular wall paint for my kitchen cabinet project?
Regular wall paint is not recommended for kitchen cabinets, as it is not designed to stand up to regular wiping, grease exposure, and daily wear and tear. Opt for a paint formulated specifically for cabinetry, such as acrylic enamel or alkyd paint, for a durable, scrubbable finish. These specialized paints resist chipping and staining far better than standard wall paint options.


RECOMMEND ARTICLES

How To Relieve Eye Strain Caused By Too Much Computer Use: A Practical Guide For Everyone

How To Read Nutrition Labels To Identify Hidden Sugars: A Practical Guide For Everyone
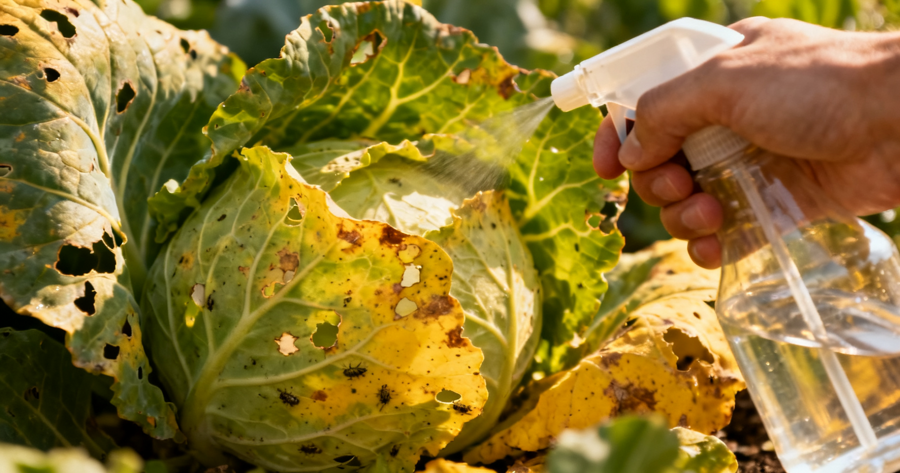
How To Identify And Treat Common Pests In Your Vegetable Garden

How To Declutter Your Entire Closet In One Afternoon: A Practical Step-by-Step Guide
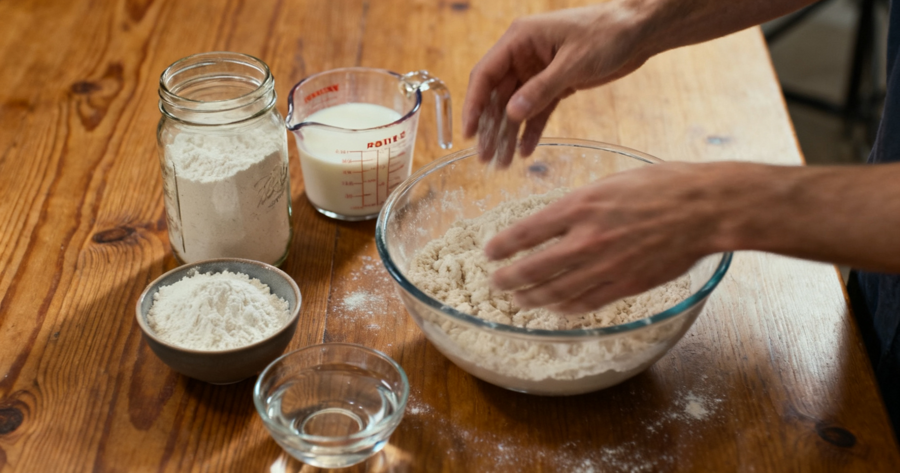
How To Make Perfect Sourdough Starter From Scratch: Step-by-Step Beginner Guide

How To Revive A Dying Houseplant: 5 Essential Steps For New Plant Owners
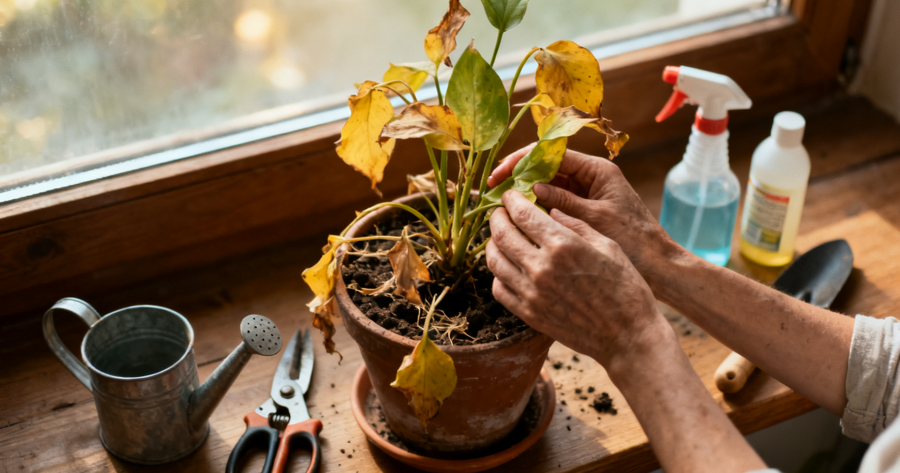
How To Revive A Dying Houseplant: 5 Essential Steps For Beginners
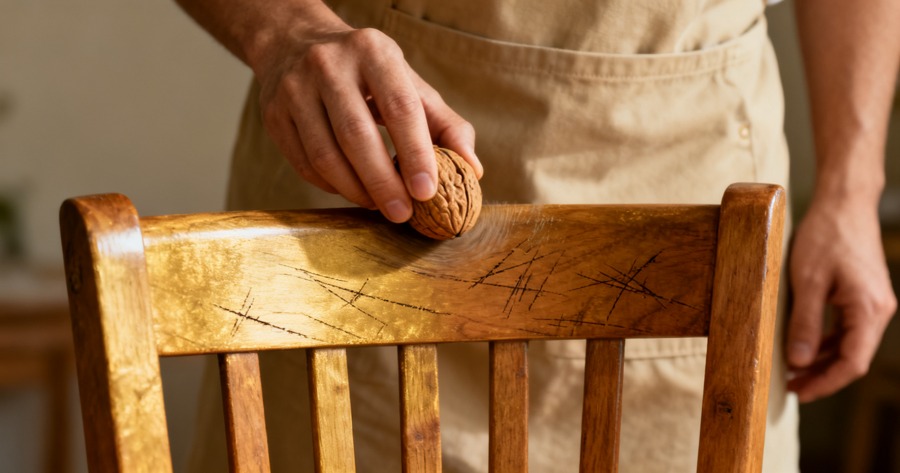
How To Restore Scratched Wood Furniture Using A Walnut: Easy Step-by-Step Guide

How To Propagate Succulents From Leaves: A Beginner’s Guide
How To Remove Hard Water Stains From Glass Shower Doors: A Simple, No-Harsh-Chemicals Guide
Most Read

What’s Your Fatal Flaw: The Personality Trait That Could Be Your Downfall!

How To Use Ghost Code In Brookhaven RB: A Complete Player's Guide

How To Create And Share Garry’s Mod Addons: A Complete Beginner’s Guide

What 2026 Has In Store For You Based On Your Zodiac Sign?

8 Unique Wedding Customs Around The World!