How To Revive A Dying Houseplant: 5 Essential Steps For Beginners

Ready to turn your yellowing, drooping houseplant back into a thriving, green addition to your space? In this guide, you'll discover 5 simple, actionable steps to revive a dying houseplant, even if you have no prior gardening experience. You’ll learn to spot common issues and fix them before permanent damage occurs.
Why should you care about learning to revive a dying houseplant? Many people throw out perfectly salvageable plants just because they don’t know how to address simple care mistakes. But it's important to understand that most struggling plants can recover with small, targeted adjustments, saving you money and helping you build confidence as a plant parent.
Why Learning to Revive a Dying Houseplant Is Worth Your Time
- Low-effort, high-reward results: You don’t need expensive tools or specialized knowledge to follow these steps, and you can see visible improvements in your plant in as little as a week. This makes the process accessible even for people with very busy schedules.
- Saves you money on replacement plants: A single common houseplant can cost $15 to $50, so reviving a struggling one instead of buying a new one can add up to significant savings over time. You’ll also avoid the disappointment of losing a plant you’ve grown attached to.
- Builds transferable plant care skills: The skills you learn from reviving one plant will help you care for all your future houseplants, reducing the chance of future issues across your entire collection. You’ll start to spot early warning signs of stress before they become serious problems.
- Creates a more calming, green living space: Thriving houseplants improve indoor air quality and add a peaceful, natural vibe to any room, boosting your overall mood and daily environment. Reviving a plant also gives you a small, satisfying sense of accomplishment.
Step-by-Step Guide to Reviving a Dying Houseplant
Step 1: Diagnose the root cause of stress
Start by checking the most common issues: overwatering, underwatering, too much sun, or too little light. Poke a finger 2 inches into the soil to test moisture levels, and check leaves for brown tips, yellowing, or drooping to match symptoms to the problem.
Common mistake to avoid: Don’t assume a drooping plant needs more water, as overwatering is actually the most common cause of houseplant death.
Step 2: Adjust your watering routine immediately
If the soil is soggy and smells rotten, stop watering right away and let the soil dry out completely before watering again. If the soil is crumbly and bone dry, place the pot in a tray of water for 30 minutes to let the roots absorb moisture slowly from the bottom.
Pro tip: Use room temperature water to avoid shocking sensitive plant roots.
Step 3: Trim away dead and damaged foliage
Use clean, sharp scissors to cut off fully yellow, brown, or mushy leaves, as these will not recover and can draw energy away from new growth. Snip stems that are completely wilted or rotted down to just above the nearest healthy leaf node.
Common mistake to avoid: Don’t cut off partially damaged leaves if more than half of the leaf is still green, as they can still produce energy for the plant.
Step 4: Repot if root rot or overcrowding is present
Gently remove the plant from its pot and check the roots: brown, mushy roots indicate root rot, while tightly coiled roots mean the plant is root-bound. Trim away any rotted roots, then repot the plant in fresh, well-draining potting mix in a pot with drainage holes.
Pro tip: Choose a new pot that is only 1 to 2 inches larger than the old one, as too much extra soil can hold excess moisture and cause new root issues.
Step 5: Move the plant to an appropriate light location
Check the specific light needs of your plant variety, then move it to a spot that matches those requirements. Most common houseplants prefer bright, indirect light, so avoid placing them directly in harsh midday sun that can burn leaves, or in dark corners with almost no natural light.
Common mistake to avoid: Don’t move a struggling plant to a drastically different environment right away, as this can cause additional stress.
Challenges to Be Aware Of
- Slow recovery timeline: Some plants may take 2 to 4 weeks to show visible signs of new growth, which can lead to frustration if you expect immediate results. Be patient, and avoid making repeated changes to its care routine, as this can slow recovery even more.
- Risk of overcorrecting care mistakes: It’s common to overwater or move a plant too frequently after noticing it’s struggling, which adds more stress instead of helping. Stick to one adjustment at a time, and wait a few days to assess results before making another change.
- Severe damage may be irreversible: If more than 70% of the plant’s roots are rotted, or all of its foliage has died back, it may not be possible to save it. Don’t take this as a failure, and use the experience to learn what to watch for with your next plant.
Conclusion
You now have the foundation to start reviving any struggling houseplant in your home, using simple, evidence-based steps that work for most common varieties. You don’t need prior gardening experience to get started, and small, consistent adjustments can make a huge difference for your plant.
Learning to revive a dying houseplant offers the chance to save money, build useful care skills, and keep your living space full of healthy, green plants. By mastering these basic steps, you’re positioning yourself to grow a thriving, low-maintenance plant collection that brings you joy for years.
Don’t wait for the perfect moment. Start checking your struggling houseplant for the common signs of stress today. Every small adjustment you make brings your plant one step closer to full, vibrant health.
FAQ
How long does it take to see results after reviving a houseplant?
Most plants will show visible signs of improvement, like perked-up leaves or new growth, within 1 to 4 weeks, depending on the severity of the damage. Succulents and slow-growing varieties may take longer to show changes, while fast-growing plants like pothos can recover in just a few days. Be consistent with your adjusted care routine, and avoid making frequent changes while your plant heals.
Do I need special tools or products to revive a dying houseplant?
You don’t need any specialized products for most basic revival tasks: a pair of clean scissors, standard potting mix, and a pot with drainage holes are enough for most cases. You can use common household items like wooden chopsticks to aerate compacted soil, or filtered tap water if your local water has high chlorine levels. Start with the supplies you already have before purchasing any extra products.
What's the best way to tell if my plant is overwatered or underwatered?
Poke your finger 2 inches into the soil: if it feels soggy and damp, your plant is likely overwatered, while dry, crumbly soil points to underwatering. Overwatered plants often have soft, yellow leaves and mushy stems, while underwatered plants have crispy, brown leaf edges and drooping, wrinkled foliage. Cross-reference these signs with your plant’s specific care requirements for the most accurate diagnosis.
Can I use these steps for any type of houseplant?
These steps work for most common houseplants, including pothos, snake plants, monstera, and philodendron, though you will need to adjust light and watering needs to match your specific variety. For more sensitive plants like calatheas or ferns, you may need to add extra humidity to their environment as part of the revival process. Always look up your plant’s specific care guidelines to tailor these steps to its unique needs.


RECOMMEND ARTICLES

How To Read Nutrition Labels To Identify Hidden Sugars: A Practical Guide For Everyone

How To Hang Heavy Pictures Without Damaging Your Walls: Complete Step-by-Step Guide
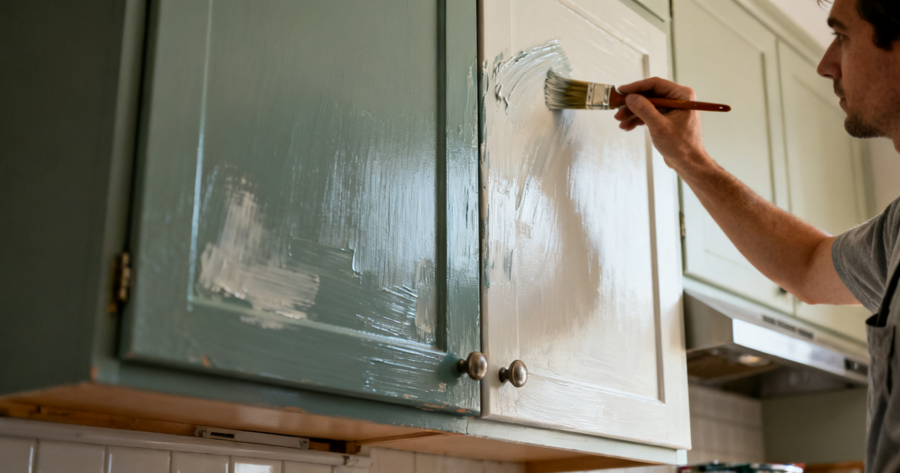
How To Paint Kitchen Cabinets For A Professional, Long-Lasting Finish
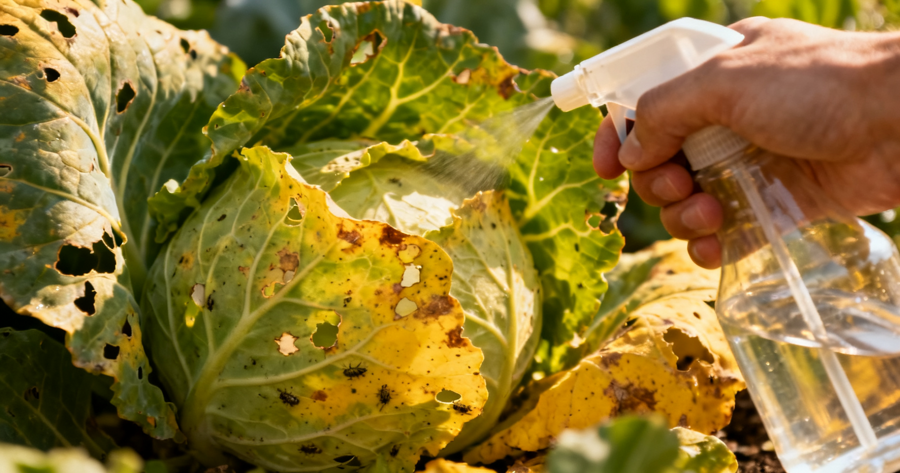
How To Identify And Treat Common Pests In Your Vegetable Garden

How To Declutter Your Entire Closet In One Afternoon: A Practical Step-by-Step Guide
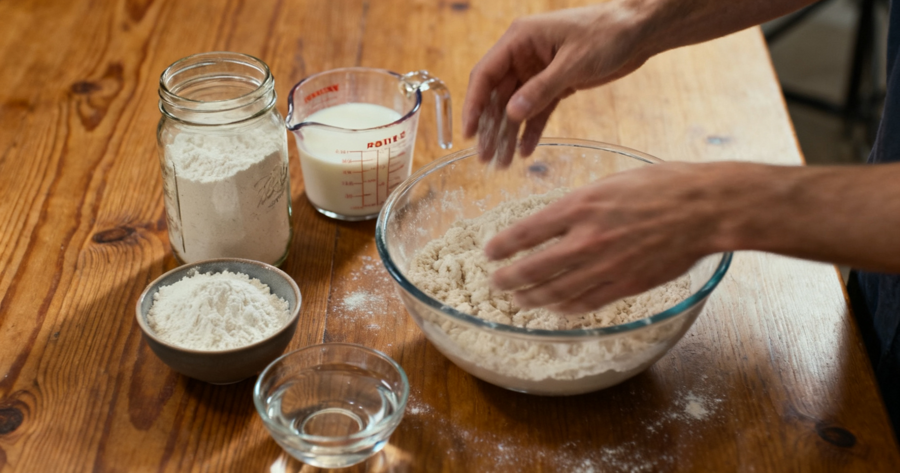
How To Make Perfect Sourdough Starter From Scratch: Step-by-Step Beginner Guide

How To Revive A Dying Houseplant: 5 Essential Steps For New Plant Owners
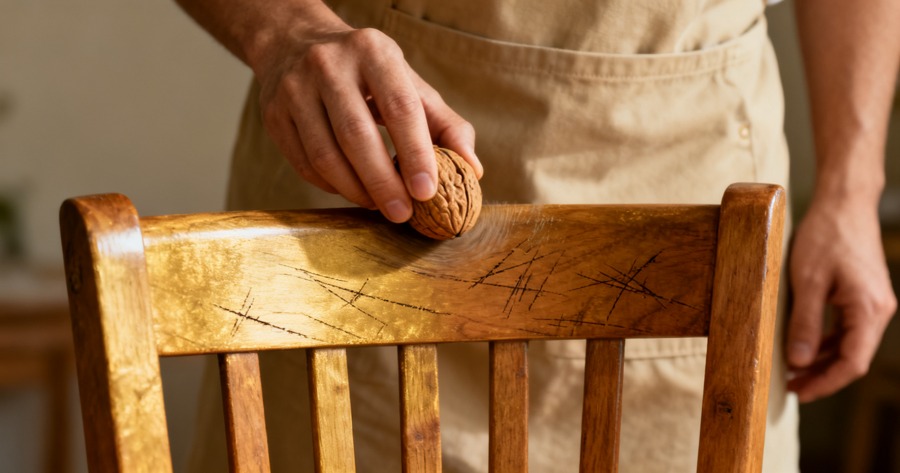
How To Restore Scratched Wood Furniture Using A Walnut: Easy Step-by-Step Guide
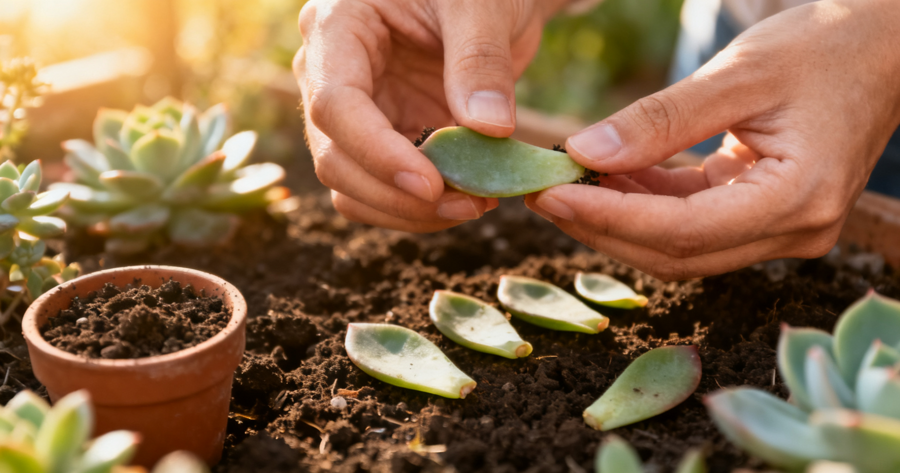
How To Propagate Succulents From Leaves: A Beginner’s Guide
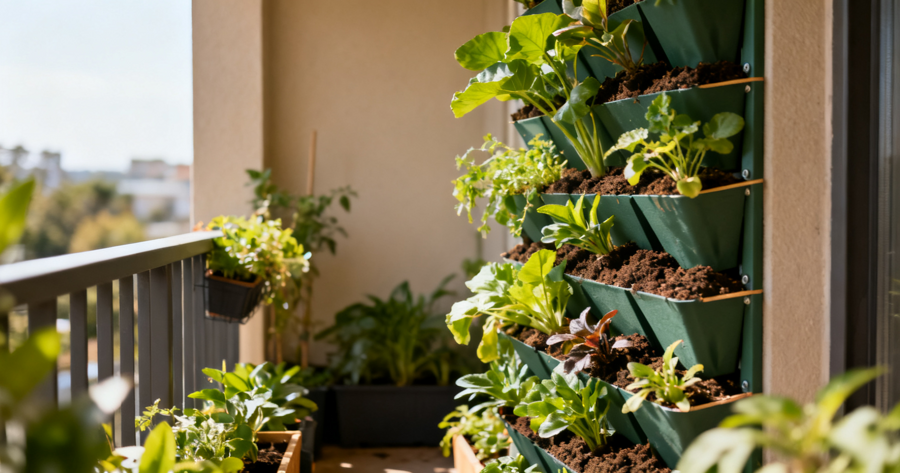
How To Create A DIY Vertical Garden For Small Balconies: A Beginner’s Step-by-Step Guide
Most Read

How To Manage Childhood Allergies: A Practical Guide For Parents

Is It Worth Pursuing Allergy Treatment?

How To Get Zems In Zepeto Fast And Easy: A Practical Guide For Players

How To Claim And Use 99 Nights In The Forest Free Items

How To Find Jobs In Cleaning, Food Service, And More—No Experience Required