How To Propagate Succulents From Leaves: A Beginner’s Guide

Ready to turn a single succulent leaf into a whole new potted plant for your home or collection? In this guide, you’ll discover the simple, low-effort process of propagating succulents from leaves, even if you have no prior gardening experience. By the end, you’ll be able to expand your succulent collection at no extra cost.
Why should you care about learning to propagate succulents from leaves? This skill lets you grow dozens of new plants from clippings you would otherwise throw away, and it makes a fun, low-stakes hobby for busy people. But it’s important to follow the right steps to avoid common mistakes that cause leaves to rot before they root.
Why Learning to Propagate Succulents from Leaves Is Worth Your Time
- Low cost entry point: You only need leaves from an existing succulent, basic potting mix, and a shallow tray to get started, with no expensive tools or supplies required. This makes it an accessible hobby for anyone on a tight budget.
- Creative decor and gifting options: The small, young succulents you grow can be used for terrariums, desk decor, party favors, or thoughtful handmade gifts for friends and family. You can even mix different varieties to create custom arrangement sets.
- Low maintenance process: Once you set the leaves up to root, they require almost no daily care, making them perfect for people with busy schedules or who travel often. You don’t need to water them frequently or monitor them constantly as they grow.
- Transferable gardening skills: The basic principles of propagation you learn here can apply to other houseplant varieties as you expand your gardening skills over time. You’ll gain a better understanding of how plants grow and respond to different care routines.
Step-by-Step Guide to Propagate Succulents from Leaves
Step 1: Harvest Healthy Leaves From a Mature Succulent
Gently twist full, plump leaves from the base of a healthy, well-watered succulent, making sure the entire leaf comes off cleanly without tearing or leaving part of it attached to the stem. Damaged leaves are far less likely to root successfully, so discard any that are split or broken. Set the harvested leaves in a dry, shaded spot for 2 to 4 days to let the cut end callus over completely.
Common mistake to avoid: Pulling leaves too roughly or harvesting them from a dehydrated succulent, which increases the risk of damage.
Step 2: Prepare a Well-Draining Propagation Tray
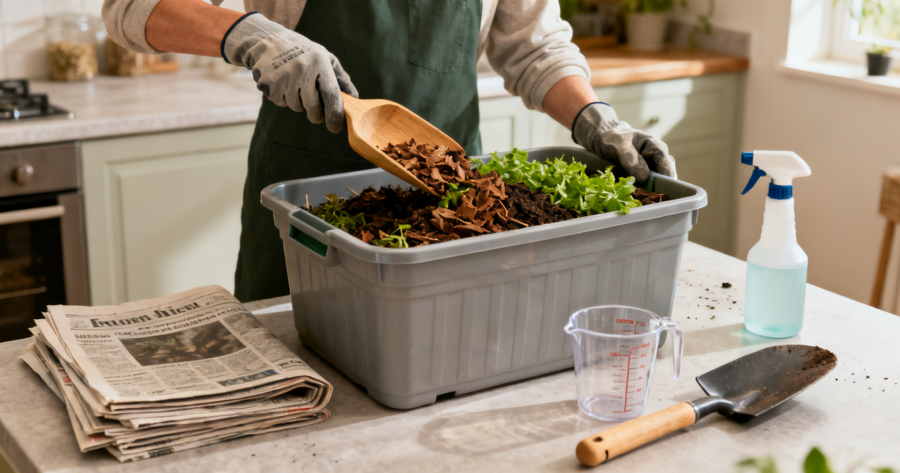
Fill a shallow tray or small pot with a specialized succulent and cactus potting mix, or make your own blend of regular potting soil mixed with perlite or coarse sand for extra drainage. Pat the soil lightly to make a flat, even surface, but do not pack it down tightly, as compacted soil can prevent root growth. You don’t need to add fertilizer at this stage, as the leaf itself provides enough nutrients for early growth.
Pro tip: Use a tray with drainage holes at the bottom to prevent excess water from pooling around the developing roots.
Step 3: Place the Callused Leaves on Top of the Soil
Lay each callused leaf flat on top of the potting mix, with the cut end facing slightly down but not buried in the soil. Space the leaves 1 to 2 inches apart to give each new plant room to grow without competing for light or nutrients. Do not push the leaves into the soil, as this can cause the cut end to rot before roots have a chance to form.
Common mistake to avoid: Burying the entire leaf under soil, which almost always leads to rot and propagation failure.
Step 4: Provide Indirect Light and Minimal Moisture
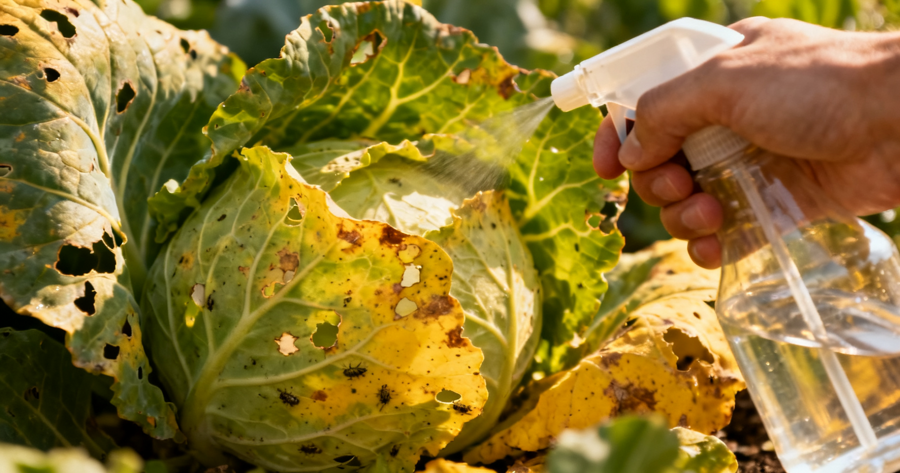
Place the tray in a bright spot that gets plenty of indirect, filtered sunlight, avoiding direct midday sun that can scorch the delicate leaves. Mist the soil lightly with a spray bottle only when it feels completely dry to the touch, usually every 3 to 5 days depending on your home’s humidity. Too much water at this stage is the most common reason leaves fail to root.
Pro tip: If you live in a very dry climate, you can cover the tray loosely with a clear plastic lid to trap small amounts of moisture and speed up rooting.
Step 5: Wait for Roots and Baby Succulents to Form
After 2 to 4 weeks, you will notice tiny pink roots growing from the cut end of the leaf, followed by a small rosette of baby succulent leaves. The original parent leaf will slowly shrivel up as it transfers its nutrients to the new baby plant. Do not remove the parent leaf until it has completely dried up and falls off on its own, as it is still providing essential nutrients to the growing succulent.
Common mistake to avoid: Picking at or removing the parent leaf too early, which can kill the young baby succulent before it is strong enough to survive on its own.
Step 6: Transplant the Baby Succulents to Individual Pots
Once the baby succulent has grown 2 to 3 sets of leaves and the original parent leaf has fully shriveled, you can gently transplant it to its own small pot with succulent potting mix. Water the new plant lightly after transplanting to help the roots settle into the new soil. Place the potted succulent back in bright indirect light, and slowly transition it to regular succulent care routines over the next 2 weeks.
Pro tip: Use a small wooden stick to loosen the soil around the roots before transplanting to avoid damaging the delicate new root system.
Challenges to Be Aware Of
- Root rot from overwatering: Too much moisture during the early rooting stage can cause the leaves to turn mushy and rot before they ever grow roots. To avoid this, always let the soil dry out completely between misting sessions, and never leave standing water in the bottom of your propagation tray.
- Slow growth in low light: If your propagation tray is placed in a spot with too little light, the baby succulents may grow tall and leggy instead of forming a tight, healthy rosette. Move the tray to a brighter spot with indirect light, and rotate it every few days to ensure even growth on all sides.
- Pest infestations: Fungus gnats and mealybugs are occasionally attracted to damp propagation soil, and they can damage young root systems before the plants are established. If you notice small flying bugs around your tray, let the soil dry out completely for a few extra days, and consider adding a thin layer of diatomaceous earth on top of the soil to repel pests.
Conclusion
You now have the foundation to start propagating succulents from leaves successfully, even if you have never gardened before. Every step of the process is designed to be low-effort and forgiving, so you don’t have to worry about making small mistakes as you learn.
Propagating succulents from leaves offers a low-cost, rewarding way to expand your plant collection and make custom decor or gifts for the people in your life. By mastering this simple skill, you’re positioning yourself to enjoy a fun, low-stakes hobby that adds greenery to your space for years to come.
Don't wait for the perfect moment. Start by harvesting a few healthy leaves from an existing succulent today. The process is slow and satisfying, and you’ll love watching tiny new plants grow from something you would have otherwise thrown away.
FAQ
How long does it take for a succulent leaf to grow into a full-sized plant?
It typically takes 2 to 4 weeks for roots and a baby rosette to form from a healthy leaf, and 6 to 12 months for the baby succulent to reach 2 to 3 inches in diameter. Full maturity can take 2 to 3 years depending on the succulent variety and growing conditions. Be patient, and adjust your care routine as the plant grows to support healthy development.
Do I need any special tools or supplies to start propagating succulents from leaves?
You don’t need any specialized equipment to get started. All you need is a healthy succulent to harvest leaves from, basic succulent potting mix, a shallow tray or pot, and access to bright indirect light. Optional supplies like a spray bottle and perlite can make the process easier, but they are not required. Grab what you already have at home to start your first propagation attempt this week.
What's the best way to save a succulent leaf that is starting to rot?
If you notice a leaf turning mushy or brown at the cut end, remove it from the tray immediately to prevent rot from spreading to other leaves. If only a small part of the end is damaged, you can cut off the rotted section with a clean, sharp knife and let the new cut callus over for a few days before trying again. Make sure you are letting the soil dry out completely between waterings to avoid repeat rot issues. Adjust your watering schedule to keep the rest of your leaves healthy.
Can I sell the succulents I grow from propagated leaves?
You can potentially sell the mature propagated succulents at local plant swaps, farmers markets, or online plant marketplaces once they are strong enough to survive shipping or transport. Make sure the plants are fully established in their own pots and have healthy root systems before you list them for sale. You can also create custom succulent arrangements with multiple varieties to increase their appeal to buyers. Start small by selling to friends and local plant lovers to test demand before expanding.

RECOMMEND ARTICLES

How To Read Nutrition Labels To Identify Hidden Sugars: A Practical Guide For Everyone

How To Start A Daily Journaling Habit For Better Clarity

How To Hang Heavy Pictures Without Damaging Your Walls: Complete Step-by-Step Guide

How To Paint Kitchen Cabinets For A Professional, Long-Lasting Finish

How To Master Basic Hand Sewing Stitches For Clothing Repair
How To Identify And Treat Common Pests In Your Vegetable Garden

How To Declutter Your Entire Closet In One Afternoon: A Practical Step-by-Step Guide
How To Make Your Own Compost At Home Without The Smell: A Simple Step-by-Step Guide

How To Revive A Dying Houseplant: 5 Essential Steps For New Plant Owners

How To Remove Hard Water Stains From Glass Shower Doors: A Simple, No-Harsh-Chemicals Guide
Most Read

How To Learn Mysticism As A Beginner: A Friendly, Practical Guide

How To Choose Your First Gaming PC At A Great Price: A Complete Guide For Players

How To Get Free Diamonds In 99 Nights In The Forest: A Step-by-Step Guide

Is Your Marriage In Crisis? A Marriage Guide To Change Your Marital Status.

5 Meaningful Lessons Trees Teach Us About Love And Relationships!