How To Restore Scratched Wood Furniture Using A Walnut: Easy Step-by-Step Guide

Ready to erase annoying scratches from your favorite wood furniture without expensive repair kits? In this guide, you’ll discover how to use a common household walnut to restore worn wood surfaces in just a few simple steps. You’ll walk away with smooth, refreshed furniture that looks almost as good as new.
Why should you care about this simple walnut trick? It saves you the cost of professional repairs or replacement of scratched furniture, and you don’t need any harsh chemicals or specialized tools to pull it off. But it's important to understand the best practices to get the most natural, long-lasting results for your pieces.
Why Restoring Scratched Wood Furniture Using a Walnut Is Worth Your Time
- Ultra low cost and accessible: Most people already have a walnut in their pantry, so you won’t need to buy expensive repair supplies or hire a professional. This makes it a perfect first DIY fix for new homeowners or casual users with no repair experience.
- Non-toxic and food safe: Unlike commercial wood fillers or polishes that may contain harsh chemicals, walnuts are completely natural. You can safely use this method on dining tables, cutting boards, or children’s furniture with no safety concerns.
- Fast, visible results: The entire process takes less than five minutes per scratch, so you can fix small imperfections right before guests arrive or during a quick weekend tidy-up. You won’t have to wait for products to dry or cure for hours after application.
- Natural, seamless finish: The natural oils in walnuts match the tone of most light to medium wood types, so the repair blends in far better than many store-bought tinted fillers. You won’t have to stress about matching the exact wood stain of your furniture to get a good result.
Step-by-Step Guide to Restoring Scratched Wood Furniture Using a Walnut
Step 1: Prep the scratched surface and your walnut
Start by wiping the scratched area with a soft, dry microfiber cloth to remove dust, dirt, or leftover food residue that could get trapped during the repair. Take a shelled, raw walnut, and rub the entire surface of the nut between your fingers for 10 seconds to warm up its natural oils.
Common mistake to avoid: Do not use roasted or salted walnuts, as added oils and salt can leave a sticky or discolored residue on your furniture.
Step 2: Rub the walnut directly along the scratch
Hold the walnut firmly, and rub it back and forth directly over the full length of the scratch. Apply gentle, consistent pressure as you work, going over the area 5 to 10 times to make sure the oil penetrates the wood fibers. Focus on the deepest parts of the scratch first, since those areas absorb the most oil.
Pro tip: If the scratch is particularly deep, break the walnut into small pieces and rub the exposed inner meat directly into the crevice for better coverage.
Step 3: Warm the treated area with your fingers
After rubbing the walnut into the scratch, use your clean fingertips to rub the treated area in small, circular motions for 30 seconds. The heat from your hands helps the wood absorb the walnut oil more deeply, and blends the oil into the surrounding wood for a more even finish. This step also removes any excess walnut crumbs from the surface.
Step 4: Let the oil absorb for 5 to 10 minutes
Set a timer and leave the treated area untouched for at least 5 minutes to let the oil fully sink into the wood. During this time, you’ll notice the scratch will start to fade as the oil darkens and fills the exposed lighter wood fibers. You can move on to other small scratches around your home while you wait.
Step 5: Buff the surface with a clean cloth
Take a fresh, dry microfiber cloth and buff the entire treated area in gentle circular motions to remove any leftover walnut residue or excess oil. Wipe until the surface feels smooth and has a subtle, natural shine, with no sticky spots left behind. Take a step back and check the scratch at different angles to make sure it’s fully blended.
Step 6: Repeat if needed for deeper scratches
If the scratch is still visible after the first application, repeat steps 2 through 5 one more time. Deeper scratches may take two or three coats of walnut oil to fill completely, as the wood absorbs oil gradually over each application. Stop once the scratch is barely noticeable and matches the rest of the wood’s tone.
Challenges to Be Aware Of
- Limited effectiveness on deep gouges or dark wood: This method works best on shallow to medium scratches on light to medium-toned wood like oak, maple, or pine. Very deep gouges that go all the way through the wood finish will likely require a wood filler for full repair, and dark walnut or mahogany may show lighter oil spots if you over-apply. Test the method on a hidden area of dark furniture first to avoid discoloration.
- Temporary results for high-traffic areas: The walnut oil repair will fade over time, especially on surfaces that get frequent wiping or use like dining tables or chair arms. You can reapply the walnut treatment every few months as needed to keep scratches hidden, or follow up with a coat of natural wood wax to make the results last longer.
- Risk of oil residue if not buffed properly: If you skip the final buffing step, excess walnut oil may leave a greasy residue on your furniture that can transfer to clothing or placemats. Always wipe the area thoroughly with a dry cloth after the oil absorbs, and avoid placing items on the surface for an hour after treatment to let it fully set.
Conclusion
You now have the foundation to start restoring scratched wood furniture using a walnut whenever you spot small imperfections around your home. This simple, low-effort trick works for most common wood pieces, and you can test it today without buying any special supplies.
Restoring wood scratches with a walnut offers a quick, non-toxic way to keep your furniture looking its best, and by mastering it, you’re positioning yourself to save hundreds on unnecessary repair or replacement costs over time. It’s a small skill that makes a big difference in the look of your living space.
Don't wait for the perfect moment. Start with that small scratch on your coffee table you’ve been ignoring today. You’ll be surprised by how much difference a 5-minute fix can make for your favorite furniture pieces.
FAQ
How long does it take to restore a typical wood scratch using a walnut?
The full process takes between 5 and 15 minutes per scratch, depending on how deep the mark is. Shallow scratches can be fixed in as little as 5 minutes, while deeper marks may require two rounds of treatment and a bit more drying time. Set aside 10 minutes for your first attempt to get comfortable with the steps.
Do I need any special tools or products to try this method?
You only need a raw, unsalted walnut, a couple of clean microfiber cloths, and your hands to complete the repair. You don’t need wood polish, sandpaper, or any commercial repair products for basic scratches. Avoid roasted or salted walnuts, as they can leave unwanted residue on your furniture.
What's the best way to make the walnut repair last longer?
After you buff the surface, apply a thin layer of natural beeswax wood polish over the treated area and buff it again to seal in the walnut oil. Avoid wiping the area with harsh cleaning products for at least 24 hours after treatment, as these can strip away the oil. You can reapply the walnut treatment every 2 to 3 months for high-traffic pieces to keep scratches hidden.
Can I use this method on all types of wood furniture?
This method works best on unfinished or naturally finished light to medium wood, and is not recommended for high-gloss lacquered or painted furniture. Test the treatment on a small, hidden spot of your furniture first to make sure the oil does not discolor the finish. For painted or lacquered pieces, you may need a specialized touch-up product instead.

RECOMMEND ARTICLES

How To Read Nutrition Labels To Identify Hidden Sugars: A Practical Guide For Everyone

How To Start A Daily Journaling Habit For Better Clarity
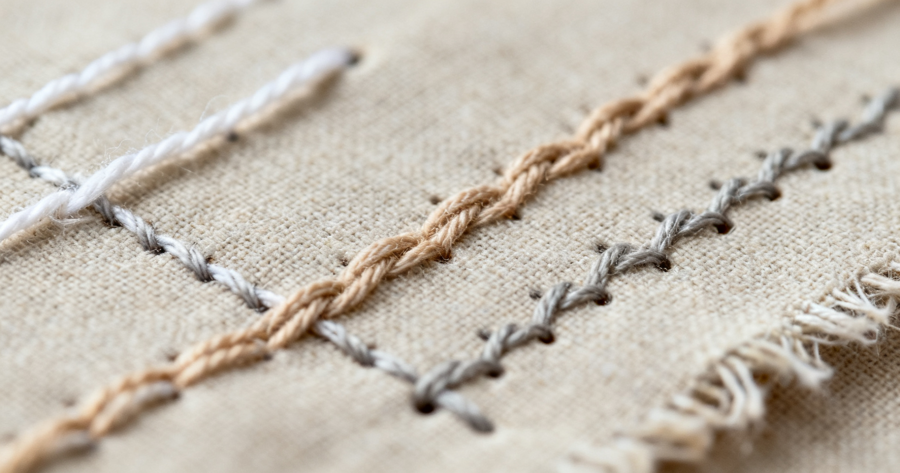
How To Master Basic Hand Sewing Stitches For Clothing Repair

How To Identify And Treat Common Pests In Your Vegetable Garden

How To Declutter Your Entire Closet In One Afternoon: A Practical Step-by-Step Guide
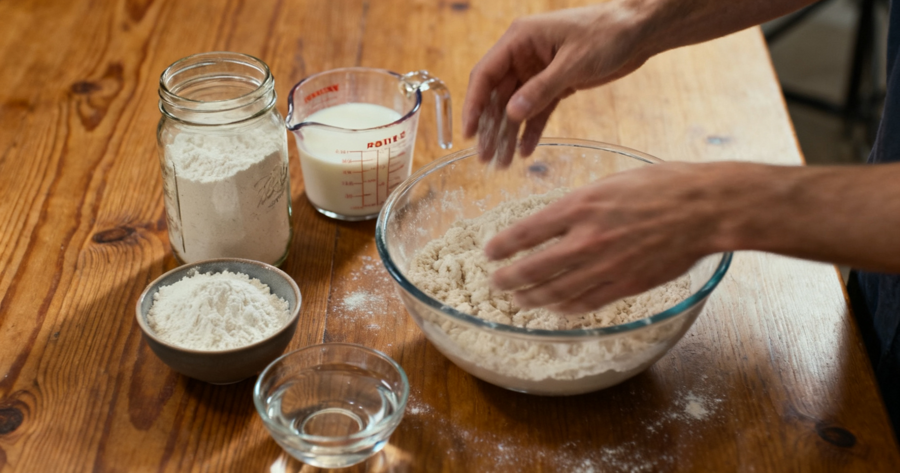
How To Make Perfect Sourdough Starter From Scratch: Step-by-Step Beginner Guide
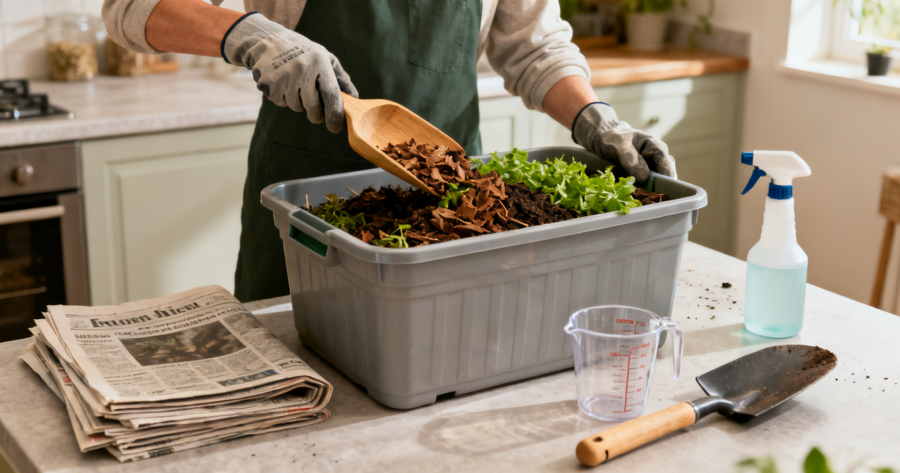
How To Make Your Own Compost At Home Without The Smell: A Simple Step-by-Step Guide

How To Revive A Dying Houseplant: 5 Essential Steps For New Plant Owners
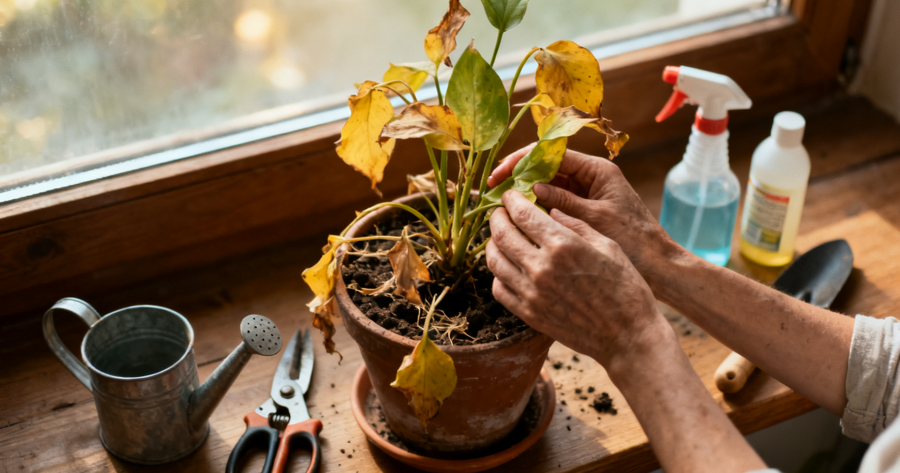
How To Revive A Dying Houseplant: 5 Essential Steps For Beginners
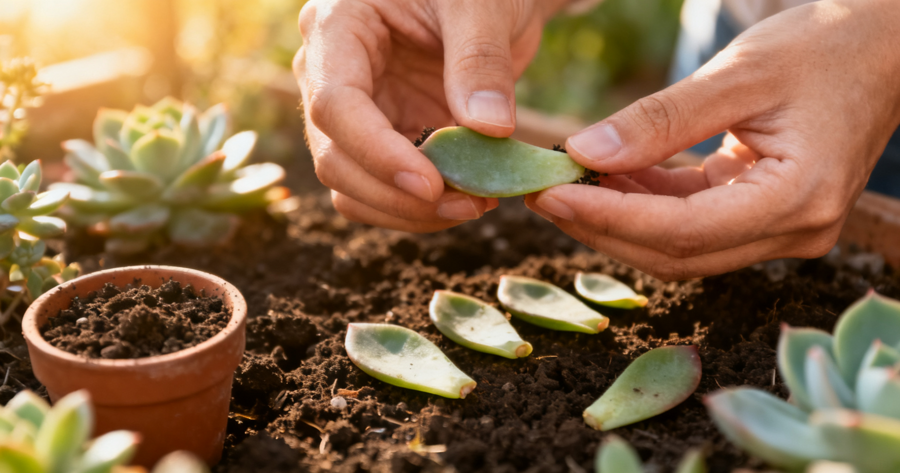
How To Propagate Succulents From Leaves: A Beginner’s Guide
Most Read

The Best Tips To Become A Gorilla Tag Pro

How To Stay Hydrated Throughout The Day: Practical Tips For People Who Forget To Drink Water

What Was The Cause Of Your Death In Your Past Life?

How Many People Have A Crush On You?

How To Master Steal A Brainrot Theft Techniques: A Step-by-Step Guide For Players